How to Install an Apron Sink
This guide on how to install an apron sink may not include certain apron sink variations or all details. At DuraLedge, we offer our patented sink mount brackets that help ensure a precise and durable apron sink installation.
The general steps of apron front sink installation are as follows:
- Identify the distance the apron is to extend past the cabinet’s face on the left and right sides or verify the width between the cabinet frame once any false drawer fronts have been removed to make sure the space is accurate for the apron front sink purchased. Modify the cabinet face (front) as needed.
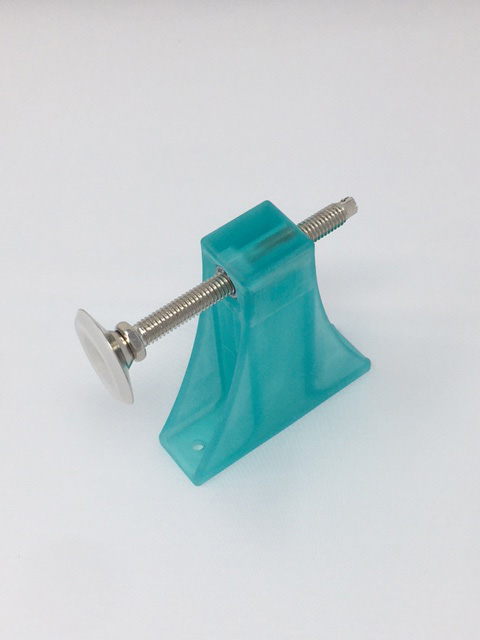
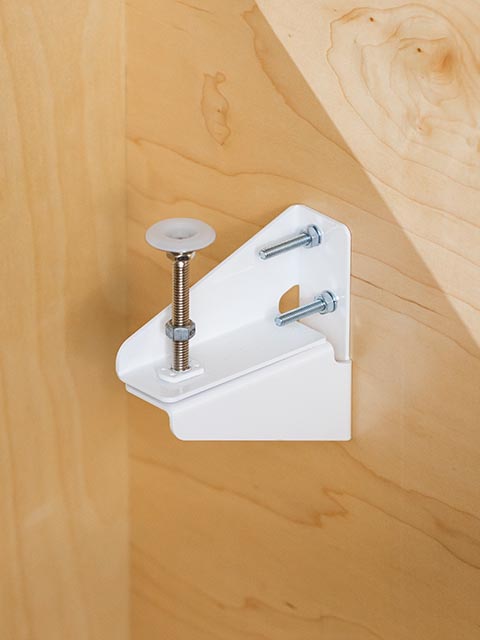
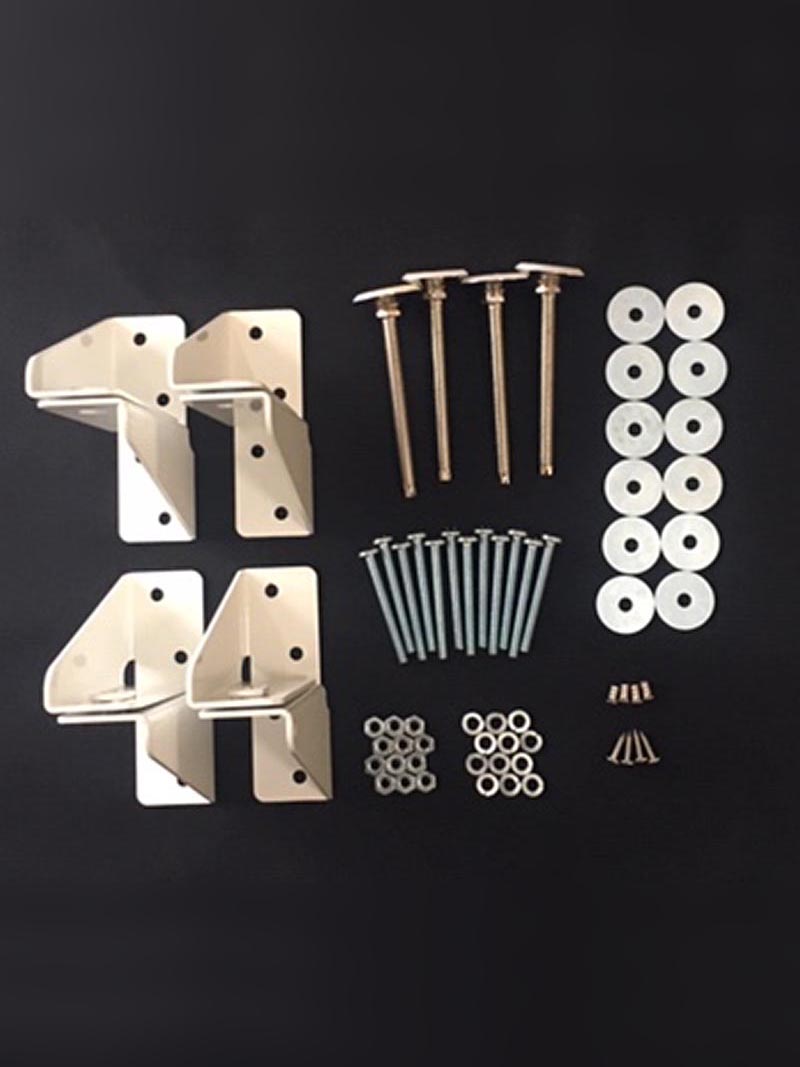
- Mount the DuraLedge Bracket that is right for the weight of your apron front sink. Check out more detailed instructions as well as helpful videos focusing on the installation of our HD bracket, which installs very similar to our LT bracket.
- A few key areas to note during the apron sink installation are the distance from front to back of the sink on which the brackets will be placed as well as any drain hole locations and overall sink heights required.
- Although there are many variations of apron front sinks and types of cabinets, on average your brackets will be mounted back from the cabinet face frame 5” inches and 3” inches from the back of your apron front sink bowl, coming forward. Drain hole locations may affect the distance coming forward. Sink heights will vary. Be sure to reference the height needed for the sink as well as the distance needed for your bracket. The bracket distances are noted in our installation instructions.
- Once the brackets are installed insert the leveling feet. At this time all 4 levelers should be fairly equal in height. The exact height is not relevant at this time, just close to the final location. Once the apron front sink is placed on the levelers, adjust the levelers using your drill, socket, or screwdriver so the sink sits just below the cabinet top. Verify the apron front sink is close to its final position.
- Add caulk or silicone to the top of the sink outside edge.
- Once verifying the sink is in the desired location, install your counter tops back on to your cabinets
- Raise the sink using the levelers on the DuraLedge brackets and remove any caulk or silicone that squeezes out with a rag. The apron front sink should be snug under the countertop and should not move. Do not over tighten the brackets.
- Let your sink rest for the needed amount of time for your caulk or silicone to set.
- Securely attach all plumbing, ensuring there is a proper connection and perform a leak test.
Following the above general steps should result in a successful apron sink install. To prepare for your new sink, order your undermount sink bracket kit today or call us at 715-690-4281 or contact us online with any questions.
**The information contained here should not be taken as professional advice, but rather a general guide to do-it-yourself installation. For best results or professional advice, please consult a professional installer. DuraLedge is not responsible for failure or damage as a result of incorrect sink installation.


